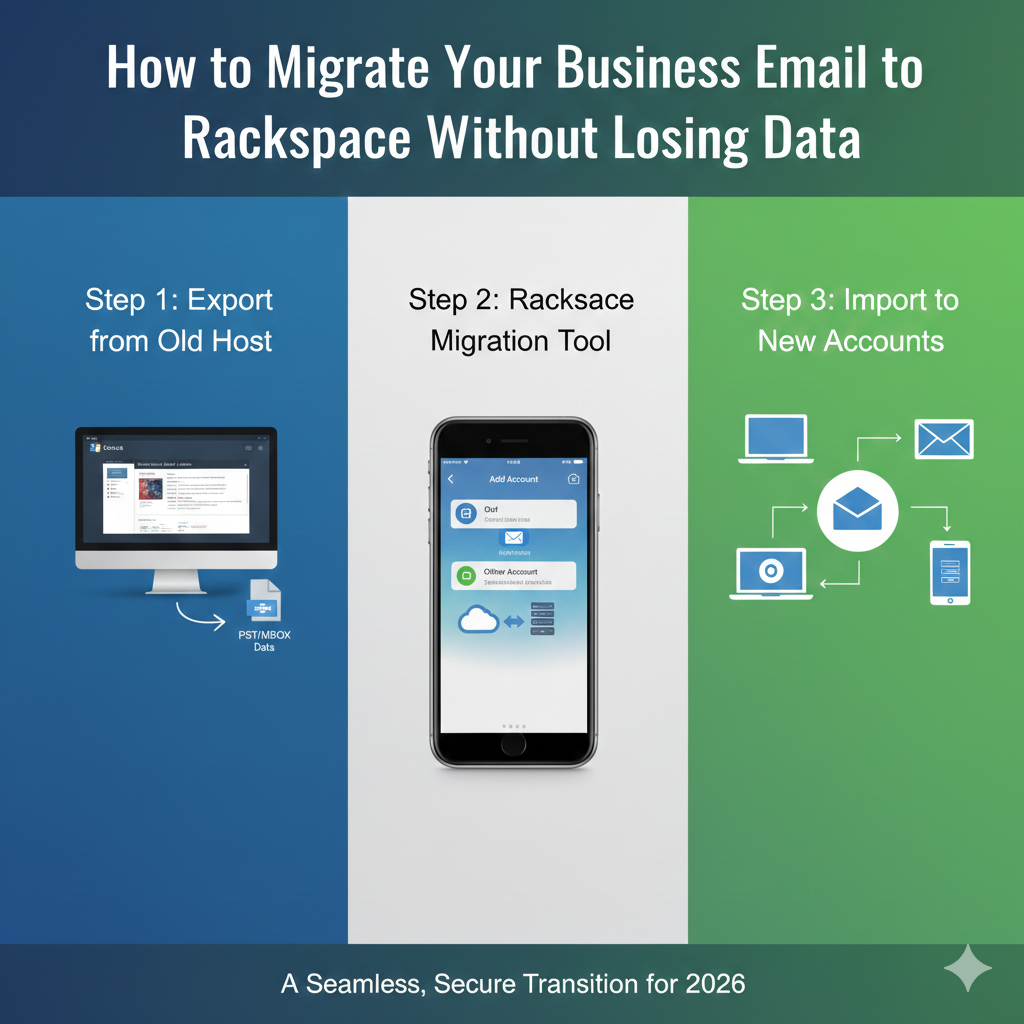
How to Migrate Your Business Email to Rackspace Without Losing Data.
Switching email providers can feel a bit like moving house. You’re excited about the new location—better features, reliable uptime, and top-tier support—but the actual process of packing up and moving is terrifying. What if something gets lost in transit? What if the movers drop a box? In the digital world, that “dropped box” is lost data, missing contacts, or dreaded downtime where clients can’t reach you.
Businesses often choose to migrate email to Rackspace for its renowned stability and “Fanatical Support.” However, the fear of data loss during the transfer is a major barrier. It’s a valid concern. Email is the lifeblood of modern business communication, and even a few hours of disruption can be costly.
This guide is designed to dismantle that fear. We will walk you through exactly how to execute a seamless transition. You will learn how to prepare your current environment, choose the right migration method, and follow a precise step-by-step process to move your business email safely. Whether you are coming from Google Workspace, Microsoft 365, or a legacy cPanel account, we’ve got you covered.
What You Need Before Migrating Email to Rackspace
Preparation is 90% of the battle. Before you even think about moving a single byte of data, you need to have your ducks in a row. Rushing into a migration without these elements is the fastest way to encounter errors.
Active Rackspace Account
First, ensure your destination is ready. You need an active Rackspace Email account. Do not try to migrate data into a trial account that might expire or has storage limitations that don’t match your source data. Ensure your plan has enough licenses for every user you intend to move.
Source Email Credentials
You cannot migrate what you cannot access. You will need a list of every email address you are moving, along with their current passwords.
- Admin Access: Ideally, you should have administrative access to your source server. This allows you to migrate all mailboxes at once without needing individual users to provide their passwords.
- User List: Create a spreadsheet mapping the Source Email to the Destination Email. Even if the addresses are the same (e.g.,
info@domain.comtoinfo@domain.com), having this map is crucial for tracking progress.
A Solid Backup Plan
Never rely solely on the migration tool. Prepare for email migration by creating a local backup of your essential data. This could be as simple as exporting your current mailboxes to PST files via Outlook or using a third-party backup service. This is your safety net. If everything goes wrong (which it won’t, if you follow this guide), you still have your data.
Best Methods to Migrate Business Email to Rackspace
There isn’t a “one size fits all” approach to migration. The method you choose depends on your technical expertise, budget, and the volume of data you need to move.
IMAP Migration
This is the most common method for a direct server-to-server transfer. Since almost all email providers support IMAP (Internet Message Access Protocol), it serves as a universal language for moving email. This method copies the folder structure and messages from your old server to Rackspace. It is generally reliable for standard email data but may not transfer contacts or calendars without additional steps.
Specialized Migration Tools
For larger businesses, using dedicated business email migration tools is often the safest bet. Rackspace offers its own self-service migration tool, which is often powered by industry leaders like MigrationWiz. These tools automate the connection between your source server and Rackspace, handling errors gracefully and providing status reports.
Manual Export/Import
If you only have one or two mailboxes, you might not need a complex tool. You can simply configure both your old email account and your new Rackspace account in an email client like Outlook.
- Let both accounts sync.
- Drag and drop folders from the old account to the new one.
- Allow it to upload.
While simple, this is slow and relies heavily on your local internet connection speed. We generally recommend automated tools for anyone with more than a handful of accounts to migrate email to Rackspace efficiently.
Step-by-Step Guide: How to Migrate Your Email to Rackspace
Ready to move? Follow these Rackspace email migration steps carefully to ensure you move business email without losing data.
Step 1: Backup Existing Email
We mentioned this in the preparation phase, but it bears repeating. Export your current data to a local file (like a PST or OLM file). This is your insurance policy.
Step 2: Create Rackspace Mailboxes
Log in to the Rackspace Cloud Office Control Panel. You must create the mailboxes on the Rackspace side before the migration begins.
- The email addresses must exist on the destination server to receive the data.
- If you are changing domain names, ensure the new domain is verified in Rackspace.
Step 3: Configure DNS Records (TTL)
Before moving data, look at your DNS settings. Locate your MX records (Mail Exchange records). You typically want to lower the TTL (Time to Live) on your MX records to the lowest possible setting (e.g., 300 seconds or 5 minutes).
- Why? This tells the internet to check for changes to your email location more frequently. When you eventually flip the switch to Rackspace, the change will propagate faster.
Step 4: Run the Migration Tool
Log in to the Rackspace Migration Tool (or your chosen third-party tool).
- Source endpoint: Enter the server details of your current provider (e.g.,
imap.gmail.comoroutlook.office365.com). - Destination endpoint: Enter the Rackspace server details.
- Upload User List: Upload the spreadsheet of users and passwords.
- Start Migration: Initiate the transfer.
Note: This is often done as a “Pre-Stage” migration, where older emails are moved first while users continue to use the old system.
Step 5: Verify Migrated Data
Once the tool reports “Complete,” log in to a few Rackspace webmail accounts. Check the folder structure. Are the Sent Items there? Are the subfolders intact? Verify email migration accuracy before proceeding.
Step 6: Update MX Records
This is the point of no return. Log in to your DNS provider (GoDaddy, Namecheap, etc.) and change your MX records to point to Rackspace (mx1.emailsrvr.com and mx2.emailsrvr.com).
- Because you lowered the TTL in Step 3, email should start arriving at Rackspace within minutes.
Step 7: Monitor Delivery and Run a Final Pass
Watch the new mailboxes. Send test emails from external accounts (like a personal Gmail). Once you confirm mail is flowing to Rackspace, run a “Delta Pass” or final pass with your migration tool. This scans the old server one last time to catch any emails that arrived while you were changing the MX records.
How to Migrate Emails from Popular Providers
The general process above works for most, but specific providers have quirks.
Google Workspace (Gmail)
To migrate Gmail to Rackspace, you must deal with Google’s security settings.
- Less Secure Apps: You may need to enable “Less Secure Apps” or generate “App Passwords” for the migration tool to access the Gmail accounts.
- Labels vs. Folders: Gmail uses “Labels,” while Rackspace uses “Folders.” The migration tool usually converts labels to folders, but nested labels can sometimes flatten out or look different.
Microsoft 365 (Office 365)
To migrate Outlook email to Rackspace, you usually use the Exchange Web Services (EWS) endpoint.
- Throttling: Microsoft throttles data speeds. If you are moving a massive amount of data, the migration might be slow.
- Global Admin: Ensure you use a Global Admin account for the source credential to avoid needing every user’s password.
cPanel or Legacy Email
If moving from a standard web host (like Bluehost or HostGator), you are likely doing a standard IMAP migration.
- Connection Strings: You will need the exact IP address or hostname (e.g.,
mail.yourdomain.com) of the old server. - Hidden Folders: Sometimes cPanel hides sent items in a folder called
.Sent. You may need to map this manually in your tool settings.
How Long Does Rackspace Email Migration Take?
This is the most common question, and the answer is always: “It depends.” However, we can estimate based on a few factors.
Mailbox Size Factors
If you are moving 50 users who each have 500MB of data, it will be lightning fast—likely finished in a few hours. If you are moving 5 users who each have 20GB of data, it could take a day or more. The total volume of data is the biggest variable for your email migration time estimate.
Bandwidth and Throttling
Your migration speed is limited by the slowest link in the chain.
- Source Speed: How fast will Google/Microsoft let you pull data out?
- Destination Speed: Rackspace can ingest data quickly, but they also have limits to protect server stability.
- Migration Server: The tool processing the move has bandwidth limits.
Generally, expect a transfer rate of roughly 500MB to 1GB per hour, per mailbox, though this can vary wildly.
How to Avoid Downtime During Email Migration
Downtime is lost revenue. You need a zero downtime email migration strategy.
TTL Adjustment
As mentioned earlier, lowering your TTL (Time To Live) is vital. If your TTL is set to 24 hours, it could take a full day for the internet to realize you switched to Rackspace. During that time, half your email goes to the old server, and half goes to the new one. Lowering it to 5 minutes minimizes this confusion.
Parallel Delivery (The “Delta” Pass)
Do not cancel your old hosting immediately. Keep the old email accounts active for at least 48-72 hours after the switch.
- Migrate the bulk of data (Pre-stage).
- Switch MX records.
- Run a final “Delta” sync to catch stragglers.
By keeping both active, you ensure that if an email gets routed to the old server by mistake, you can still grab it.
How to Verify Successful Email Migration
The tool says “Success,” but you need to be sure.
Folder Comparison
Open the source mailbox and the destination mailbox side-by-side in two different browser windows.
- Check the total number of items in the Inbox. Do they match?
- Check the Sent Items. This is the folder most likely to fail or be mislabeled.
- Check for specific sub-folders.
Send/Receive Tests
Perform live tests to check migrated emails.
- Send an email from the new Rackspace account to an external address. Does it arrive?
- Reply to that email. Does it land in the Rackspace inbox?
- Send an email with an attachment to ensure data throughput is working.
Common Rackspace Email Migration Issues & Fixes
Even with the best plans, hiccups happen. Here are common Rackspace migration errors and how to fix them.
Missing Folders
Issue: You log in, and the Inbox is full, but the Sent folder is empty.
Fix: This is usually a “Root Folder Path” issue. Different servers store mail in different structures (e.g., Inbox/Sent vs. Root/Sent). Check your migration tool settings for “Folder Mapping” and retry the sync for that folder.
Authentication Errors
Issue: The migration tool reports “Source Endpoint Failed” or “Bad Password.”
Fix:
- Check if the password was changed recently.
- Check if the source provider has 2-Factor Authentication (2FA) enabled. If so, you cannot use the standard password; you must generate a specific “App Password” for the migration tool.
Duplicate Emails
Issue: Users see two copies of every message.
Fix: This happens if you run the migration tool twice without the “Duplicate Detection” feature enabled. Most modern tools have this on by default. If it happens, you may need to use a de-duplication script or, in worst-case scenarios, wipe the Rackspace mailbox and re-migrate.
Post-Migration Checklist
You’ve moved the data and switched the MX records. You aren’t done yet.
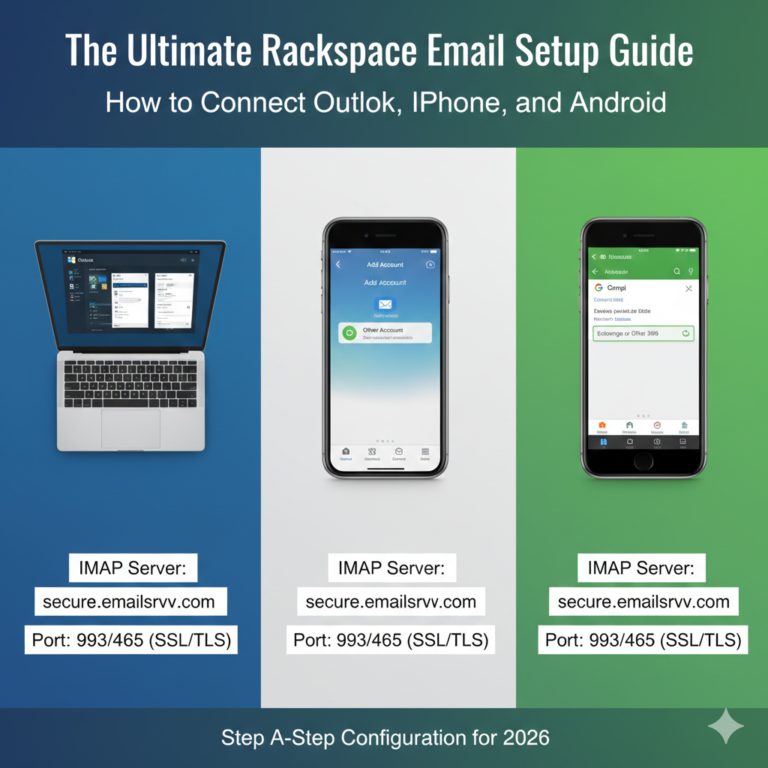
Device Reconfiguration
This is the part that frustrates users most. Every phone, tablet, and laptop needs to be updated. You must remove the old account settings and add the new Rackspace IMAP/POP/SMTP settings.
- Tip: Provide your team with a clear “Cheat Sheet” containing the new server settings (
secure.emailsrvr.com) and ports.
Backup Setup
Now that your data is safe in Rackspace, keep it that way. Set up a new backup protocol. Rackspace offers email archiving services—consider enabling this immediately.
Security Review
New server, new rules. Ensure all passwords are strong. Check that SPF, DKIM, and DMARC records are set up in your DNS. These records are essential for ensuring your outgoing email doesn’t end up in your clients’ spam folders.
FAQ – Rackspace Email Migration
Q1: Can I migrate email to Rackspace without losing data?
Yes. By using a “Pre-stage” migration method (moving data while the old server is live) and performing a final “Delta” sync after switching MX records, you can ensure 100% data retention. Always create a local backup first for safety.
Q2: How long does Rackspace email migration take?
It depends on mailbox size and internet bandwidth. A rough rule of thumb is 1GB per hour per mailbox, but Microsoft 365 or Google throttling can slow this down. Small businesses often complete the process over a single weekend.
Q3: Will my email go down during migration?
If you lower your DNS TTL settings in advance and keep your old server active for 48 hours after the switch, you can achieve a zero downtime email migration. Users will simply start seeing new emails arrive in the new mailbox.
Q4: Can I migrate from Google Workspace or Microsoft 365?
Absolutely. Most business email migration tools have specific presets for migrating Gmail to Rackspace or moving from Office 365. You just need the correct admin credentials or app passwords.
Q5: Do contacts and calendars migrate automatically?
Not always. Standard IMAP migration only moves email messages. To move contacts and calendars, you usually need a specialized migration tool (like MigrationWiz) or you must export/import them manually via CSV or PST files.
Q6: What is the best email migration tool for Rackspace?
Rackspace provides a self-service migration tool within their control panel that is excellent and free for new customers. For complex migrations involving calendars and contacts, paid tools like BitTitan’s MigrationWiz are the industry gold standard.
Moving Forward with Confidence
Migrating your business email to Rackspace doesn’t have to be a nightmare scenario. It requires patience, precise planning, and the right tools. By following this guide, verifying your backups, and testing your results, you can modernize your email infrastructure without dropping a single packet of data.
If you have prepared your user list and checked your DNS settings, you are ready to begin. Take a deep breath, follow the steps, and welcome to your new, more reliable email home.